Choose a starting path
Fastest path: use a hosted form. Create a small contact form in Tally, publish it, and link or embed it on your website. Tally has a free webhook integration, so you can then follow the Tally connection guide. You do not need to replace your whole website.
Developer path: use your own form. Add an HTML form to your website and handle its POST request on your server. Your server validates the fields, sends a copy to a FormTriage Generic source, and returns a useful success or error page to the visitor.
Option 1: a hosted form in Tally
- Create a contact form. Start a form in Tally with Name, Email, and Message fields. Ask only for information your team needs to reply.
- Publish and place it. Publish the form, then link to it from your website or embed it in a page. Submit a test response and confirm Tally recorded it.
- Connect FormTriage. Follow the Tally integration steps to create a Tally source, add its webhook URL, and send a second test response.
Tally’s form creation guide shows its current editor and publishing options.
Option 2: your own HTML form
Here is a minimal visitor-facing form. Its action points to your server, which can return a friendly acknowledgement after forwarding the submission. Replace /contact with your own handler route.
<form action="/contact" method="post">
  <label for="name">Name</label>
  <input id="name" name="name" required>
  <label for="email">Email</label>
  <input id="email" name="email" type="email" required>
  <label for="message">Message</label>
  <textarea id="message" name="message" required></textarea>
  <button type="submit">Send message</button>
</form>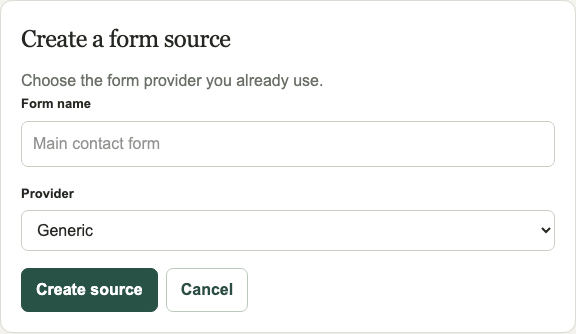
In FormTriage, create a source under Forms → New form and choose Generic. Copy its ingestion URL. Have your server send an HTTPS POST with JSON or URL-encoded fields to that URL. Set an Idempotency-Key header when your server may retry a request. Return success to the visitor only after you have handled delivery according to your own reliability requirements.
Keep the ingestion URL on the server. Do not paste it into client-side HTML or JavaScript. A direct browser POST can expose the URL and leaves the visitor with FormTriage’s API response instead of your own success page. Your server should validate input, limit abuse, and handle failures before showing a result.
Test the whole path
- Submit a test through the public form. In the FormTriage source’s First submission setup, confirm receipt and processing status, then inspect the original text and classification. The built-in Send test submission button checks the FormTriage source; testing your public form also checks your server’s forwarding path.
- Try an invalid email and an empty message. The visitor should see a clear error and no empty submission should be forwarded.
- Try a provider failure in a safe test environment. The visitor should not see a success message if your server has not accepted responsibility for the submission.
- Send an uncertain message. It should remain visible in Needs review.
For the HTML form and server handling model, see MDN’s form data guide.